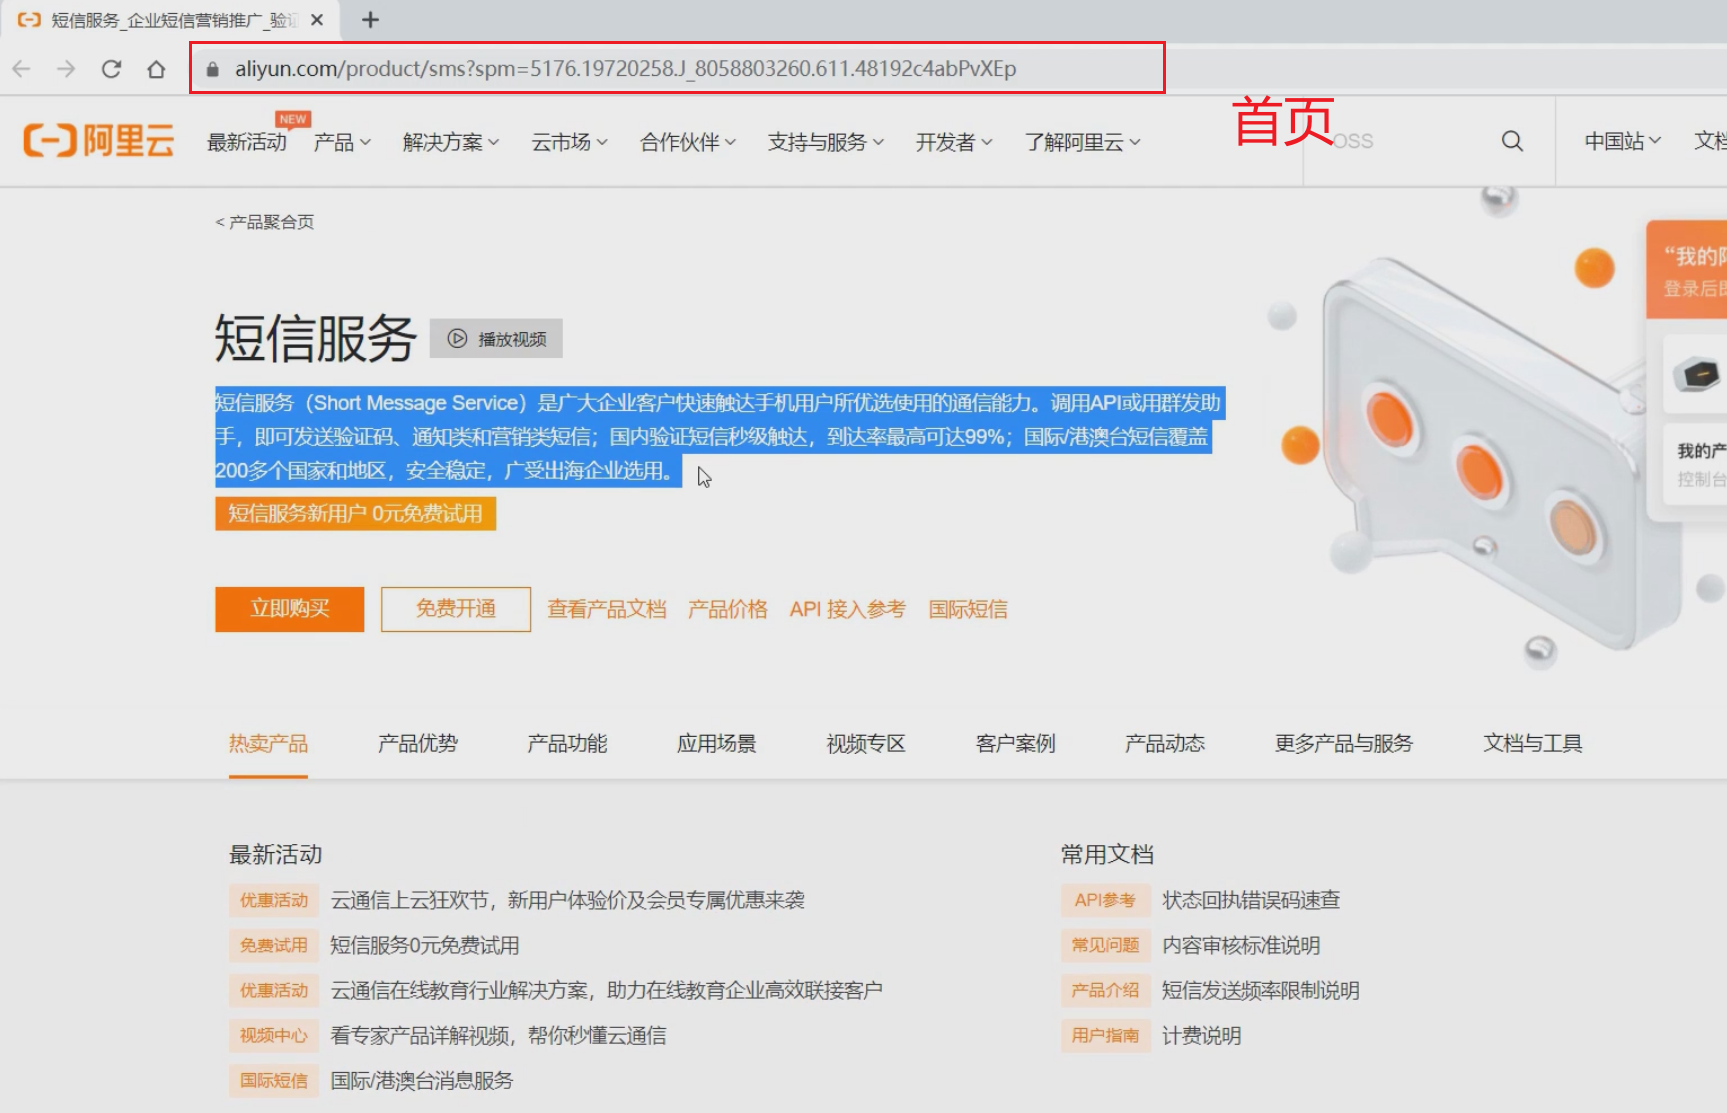
# 阿里云短信服务
官方网站:https://www.aliyun.com/product/sms?spm=5176.19720258.J_8058803260.611.48192c4abPvXEp
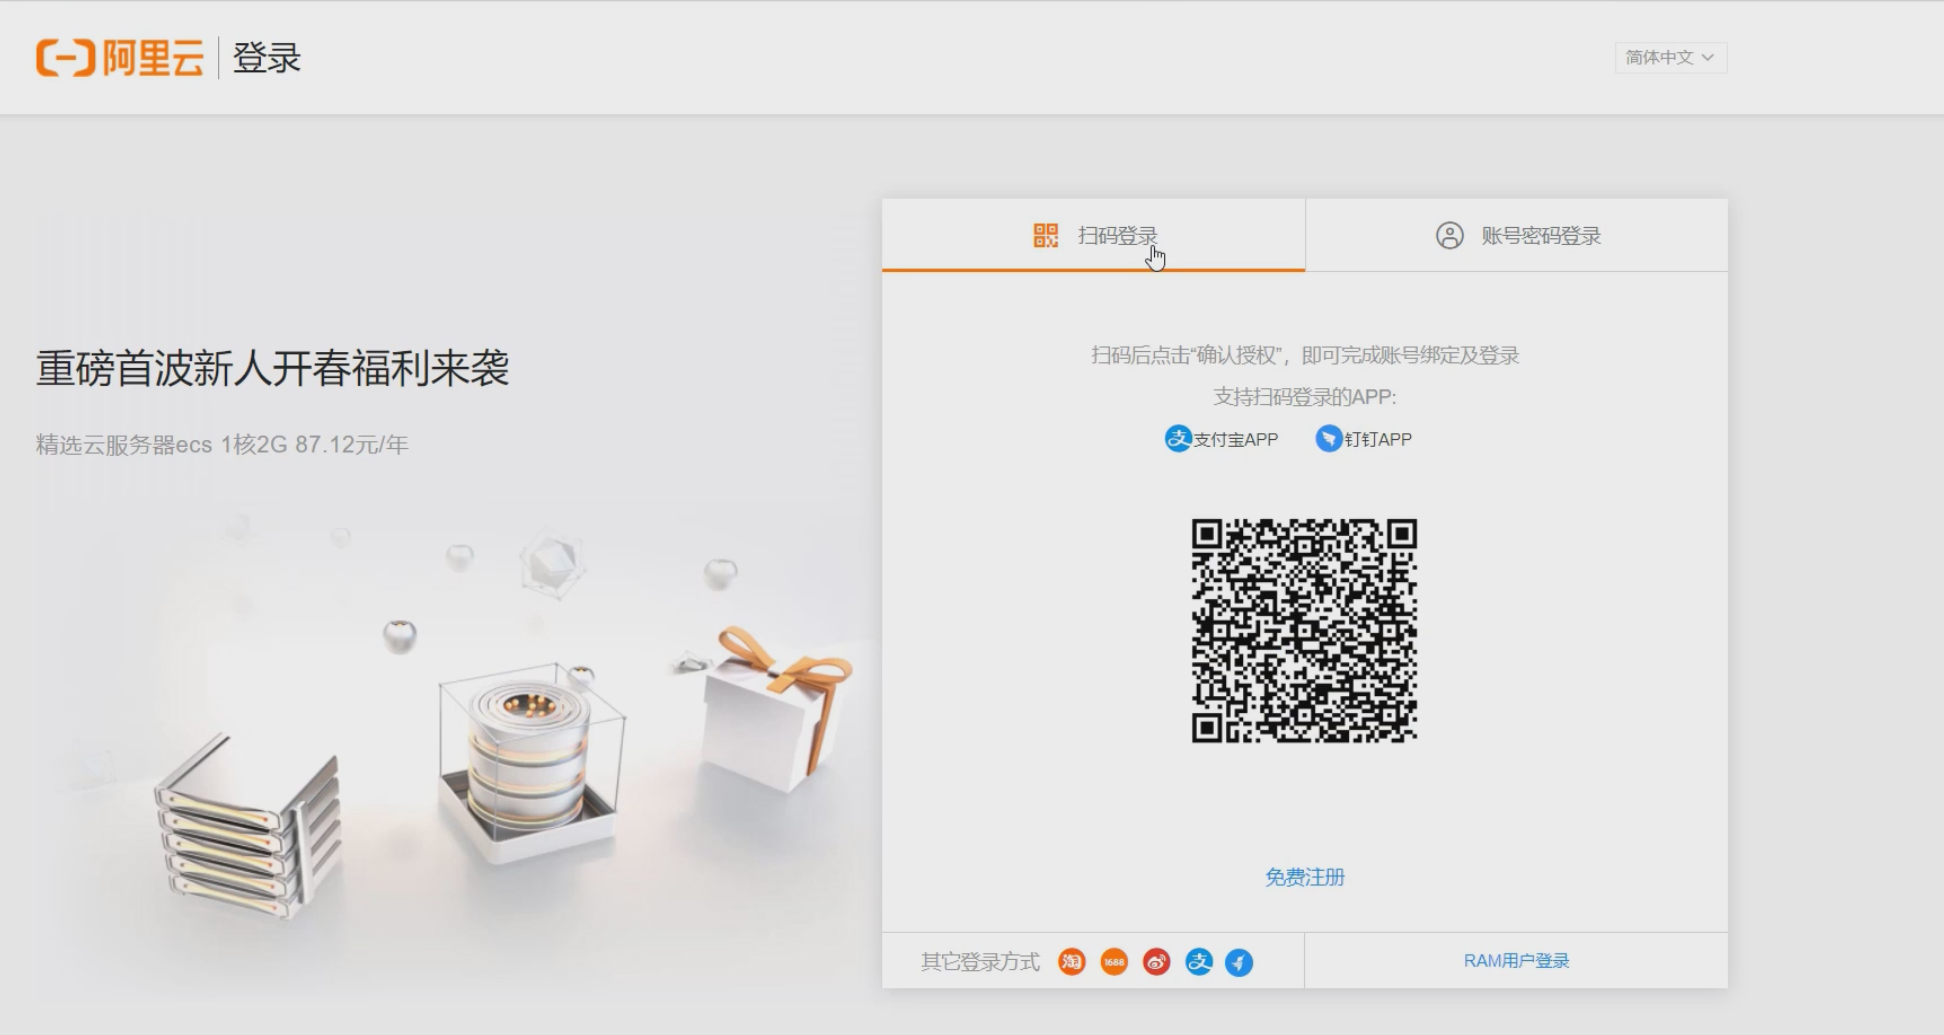
注册阿里云账号
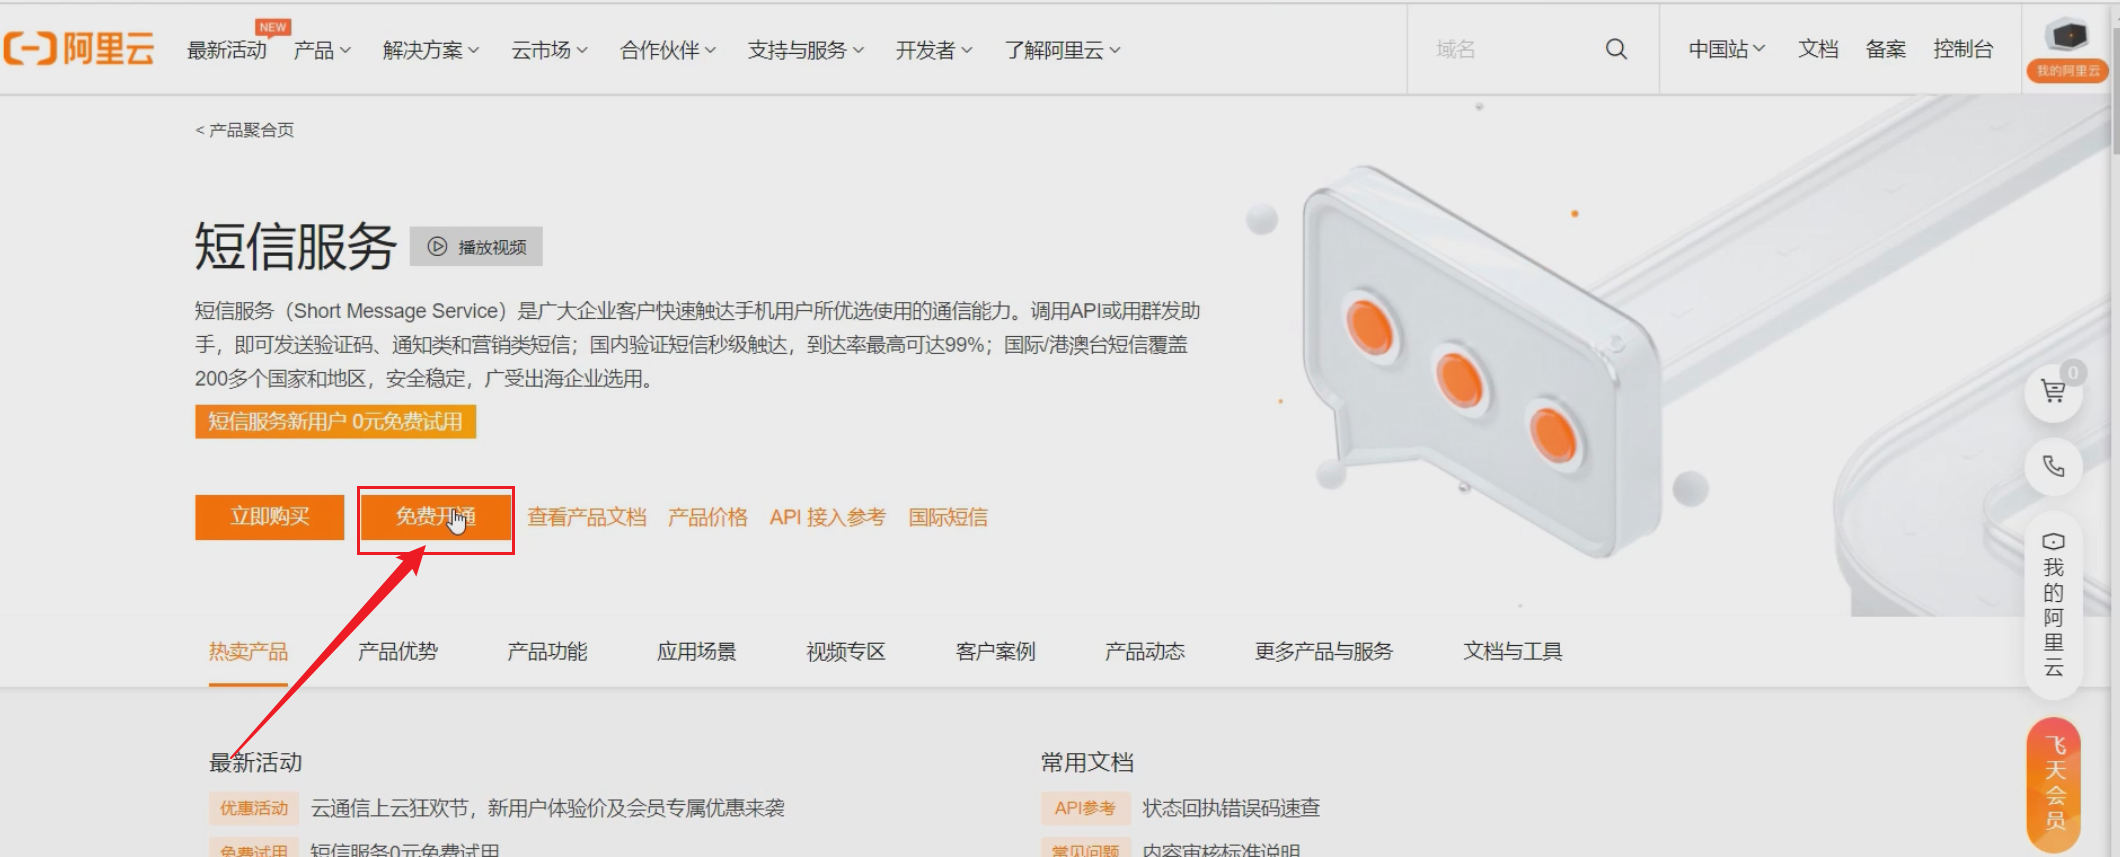
开通短信服务
申请签名
配置模板
示例代码测试
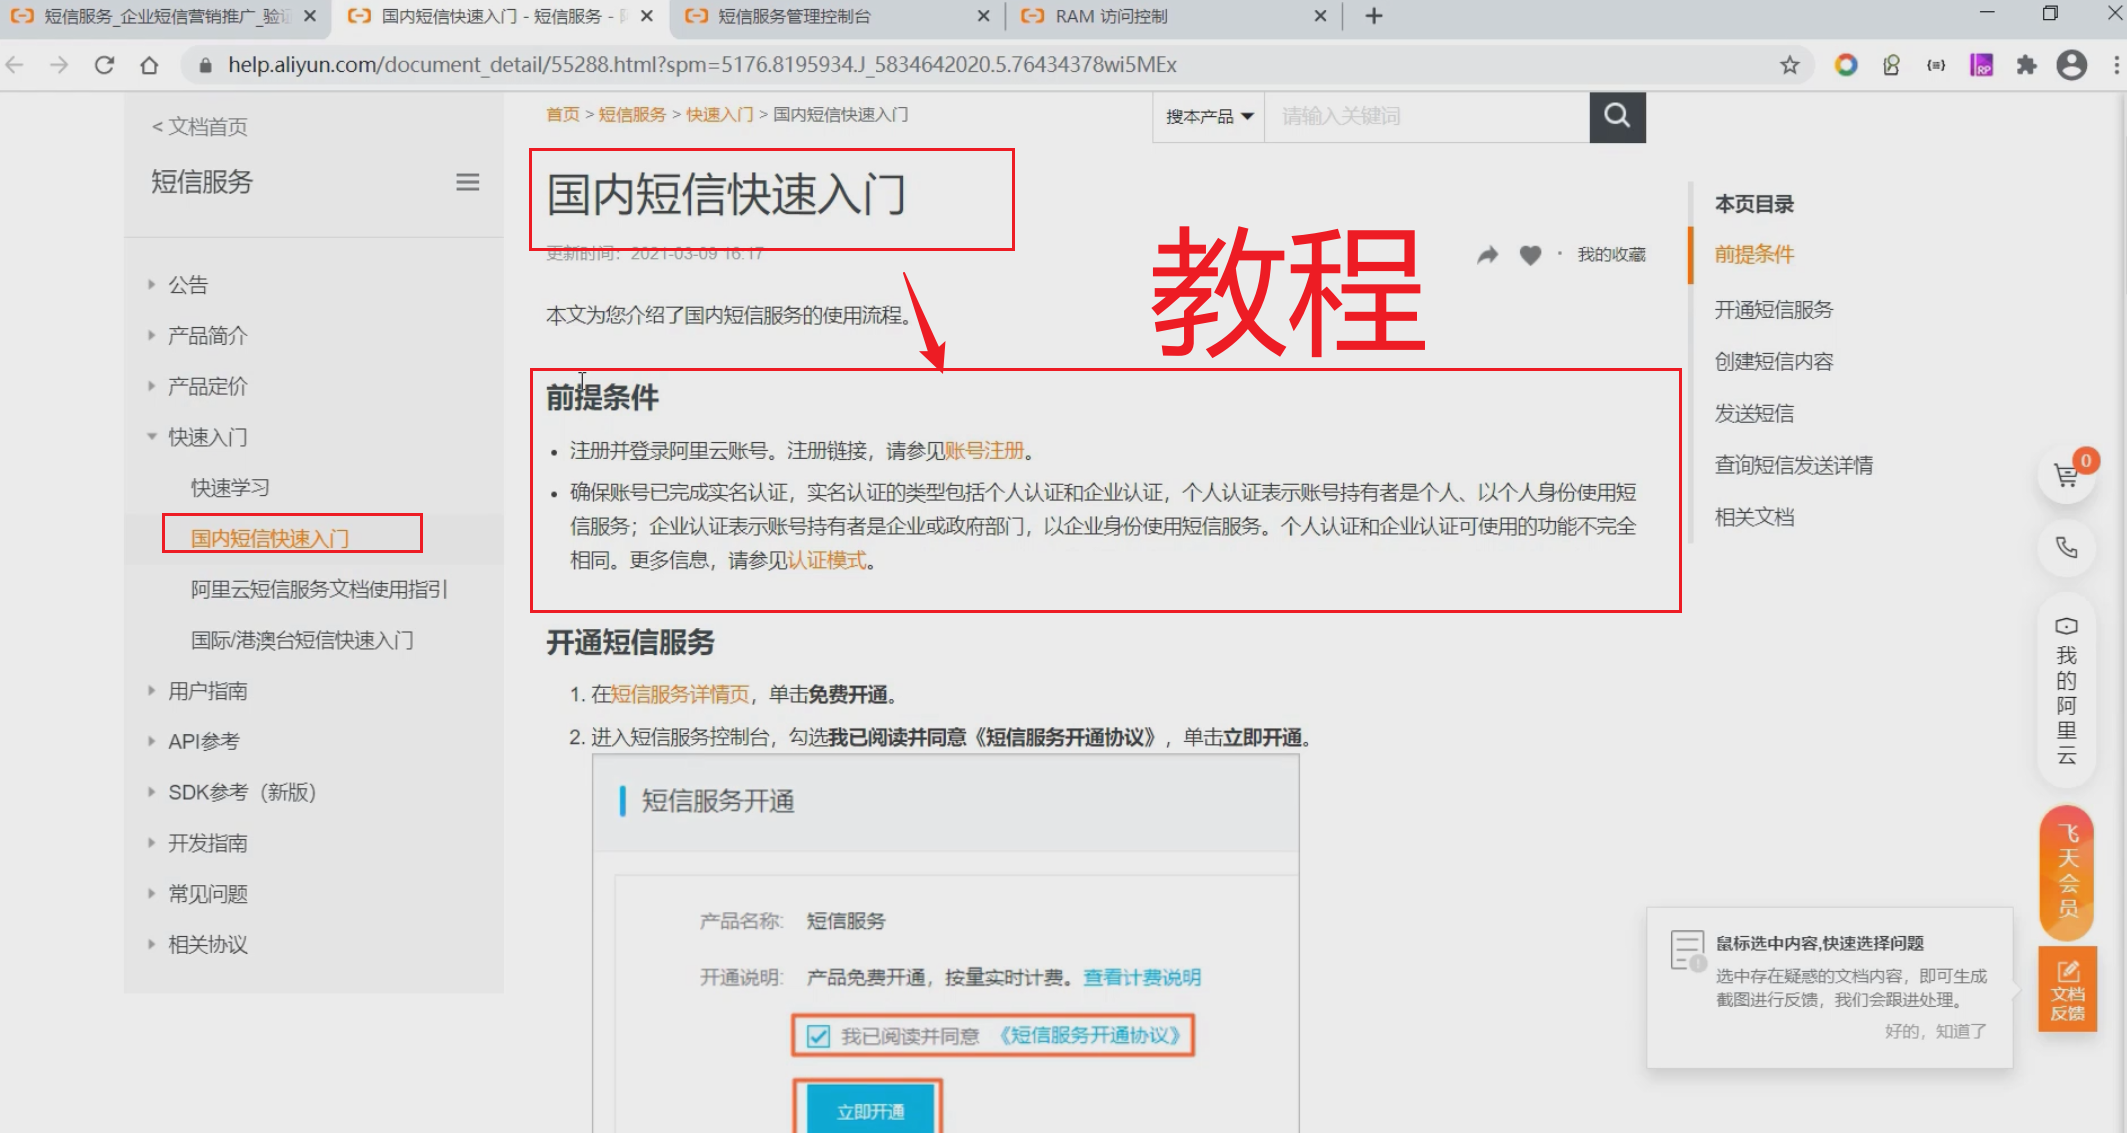
# 01)注册阿里云账号
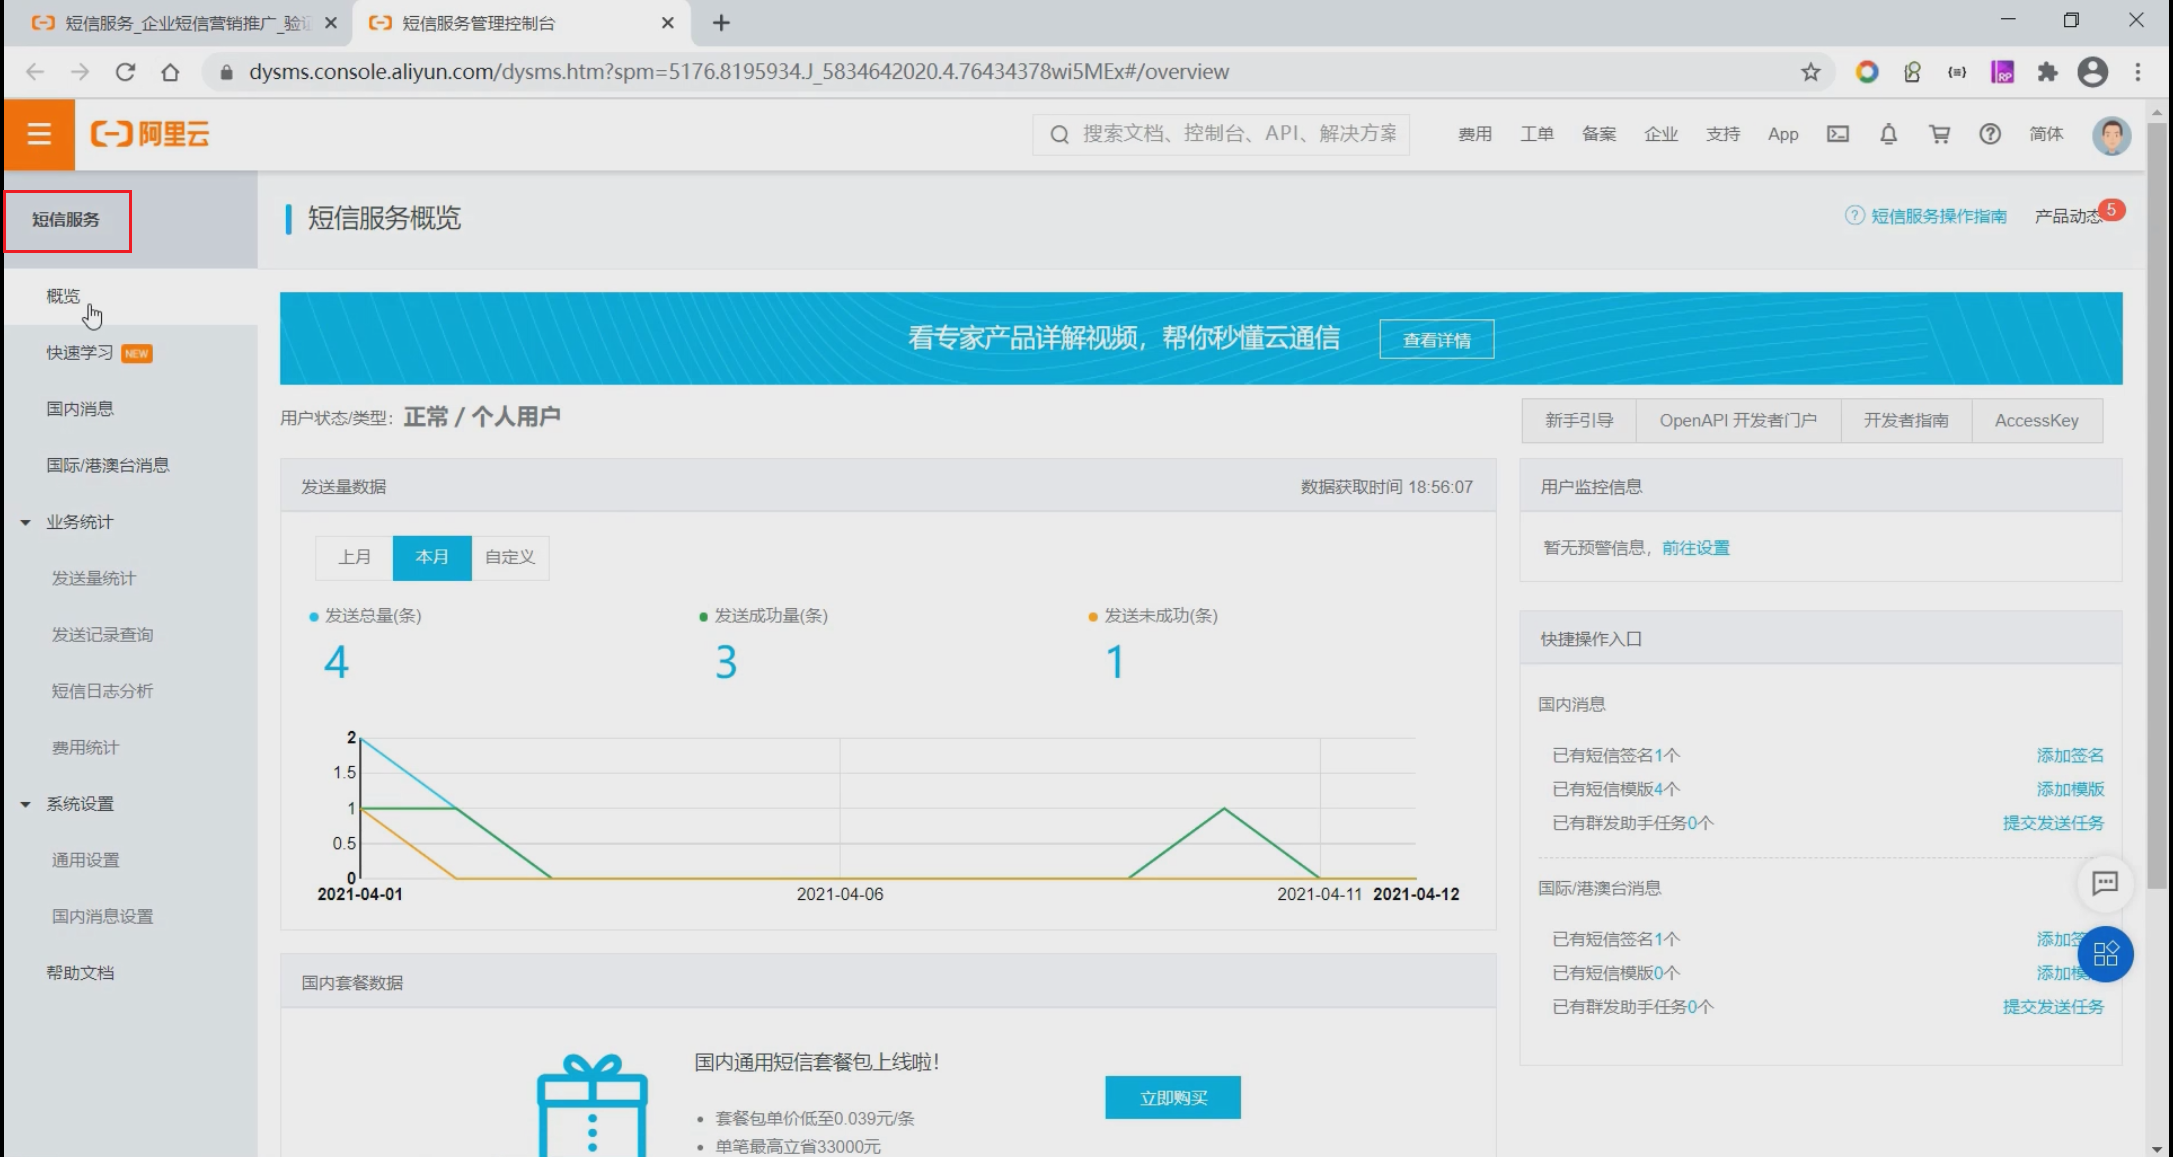
短信后台管理系统
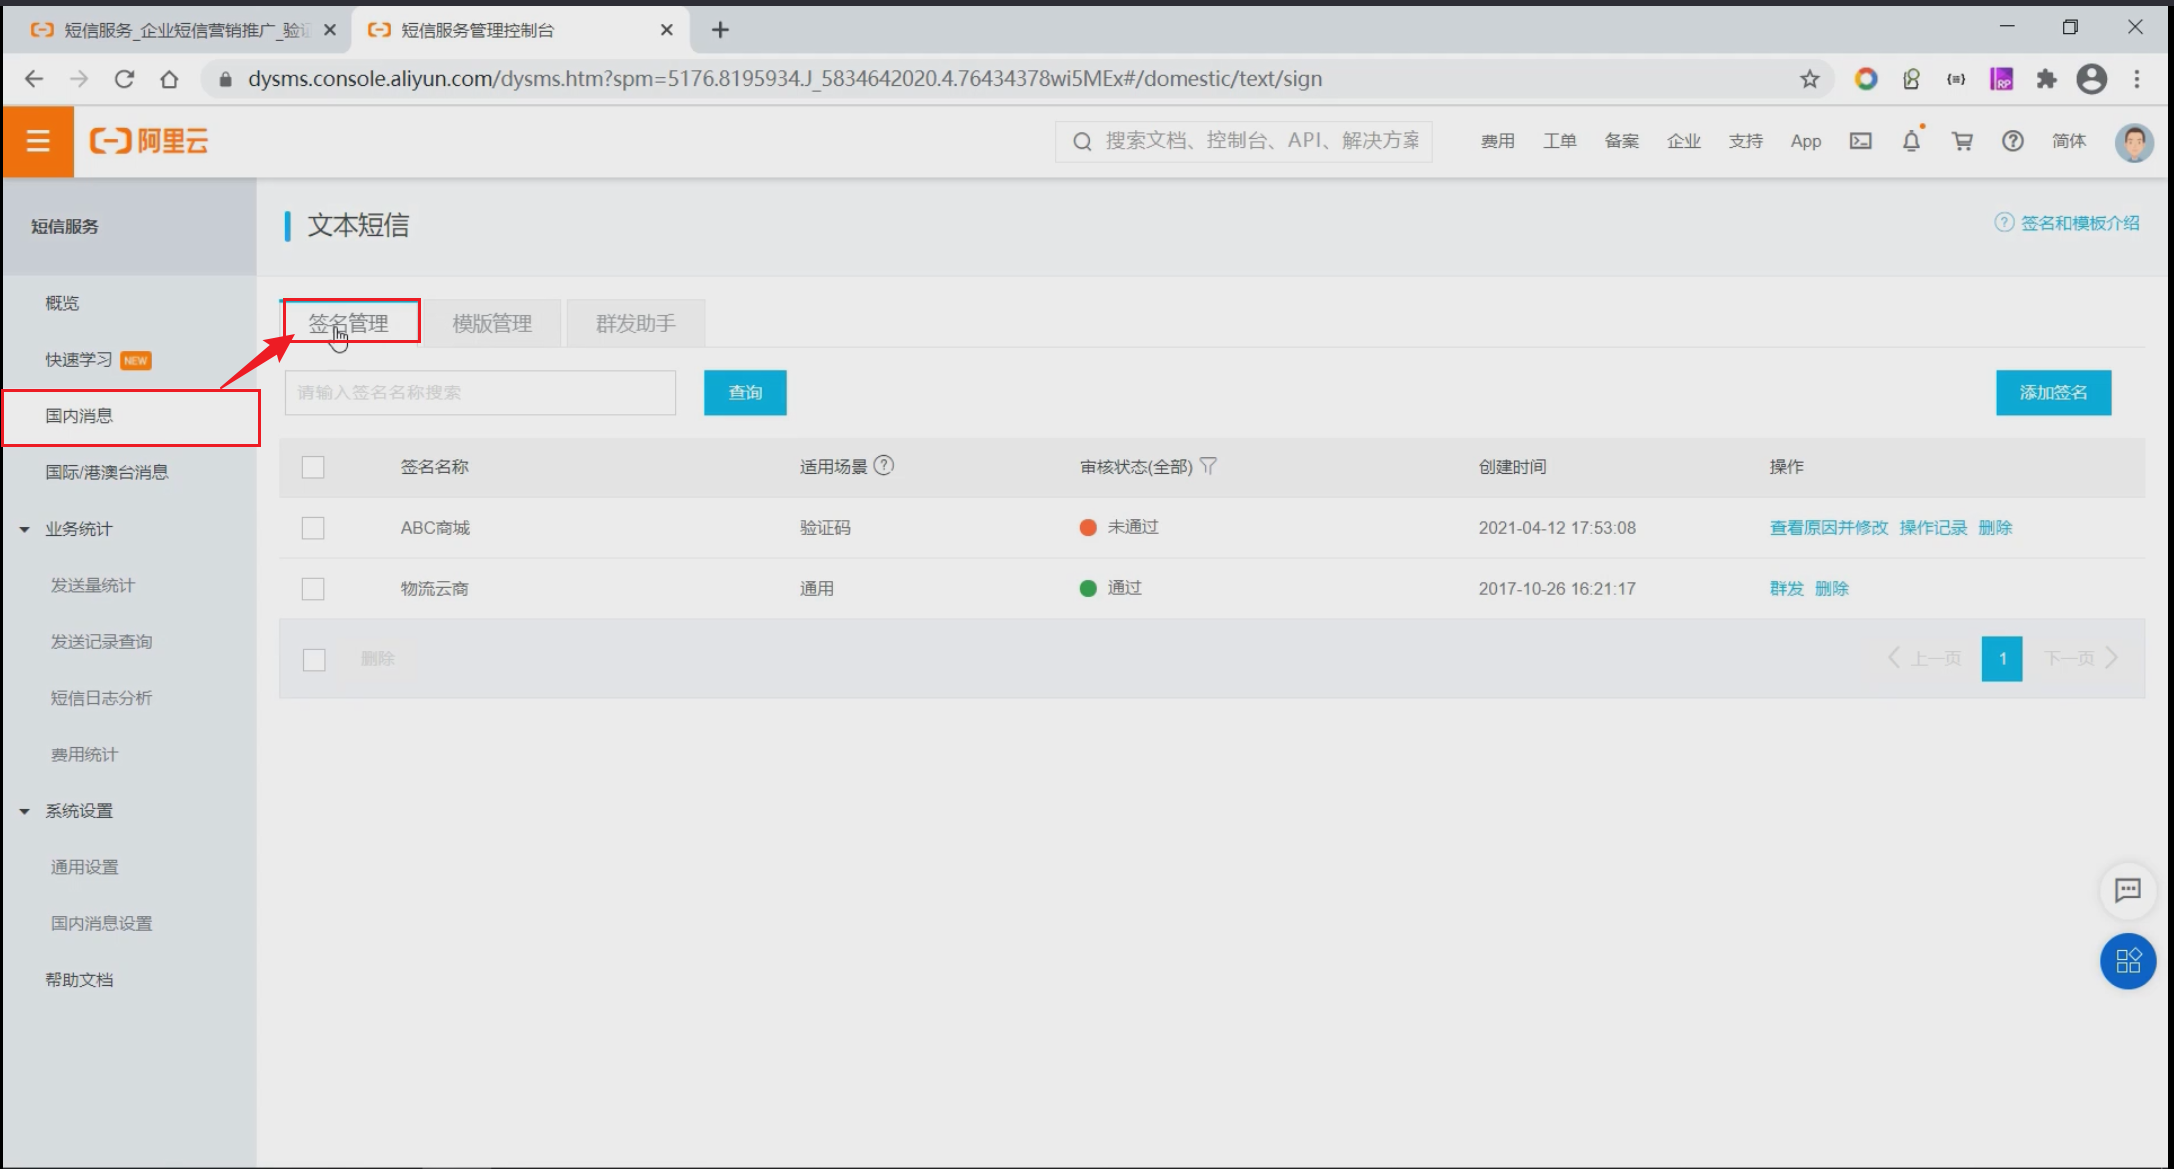
这个页面下,添加一个签名。
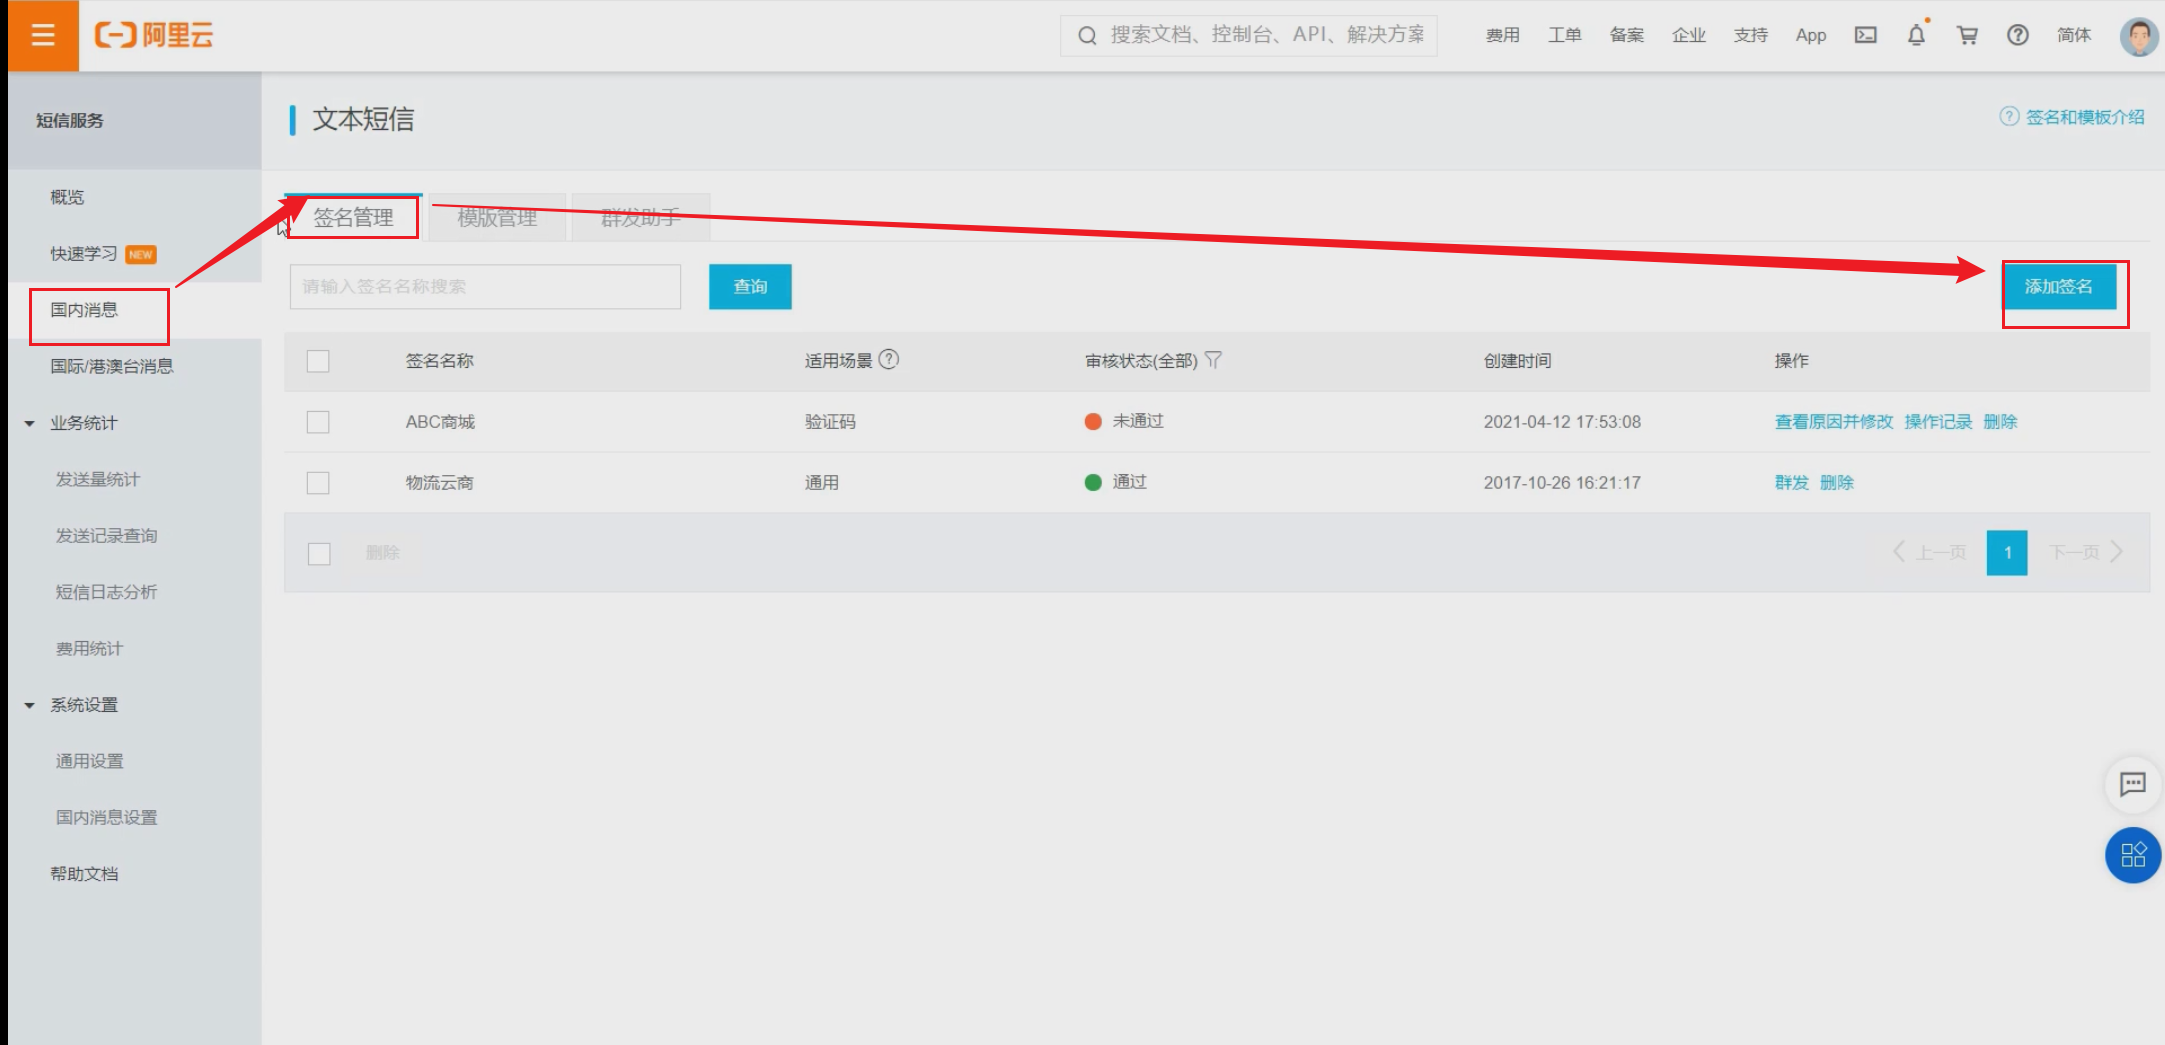
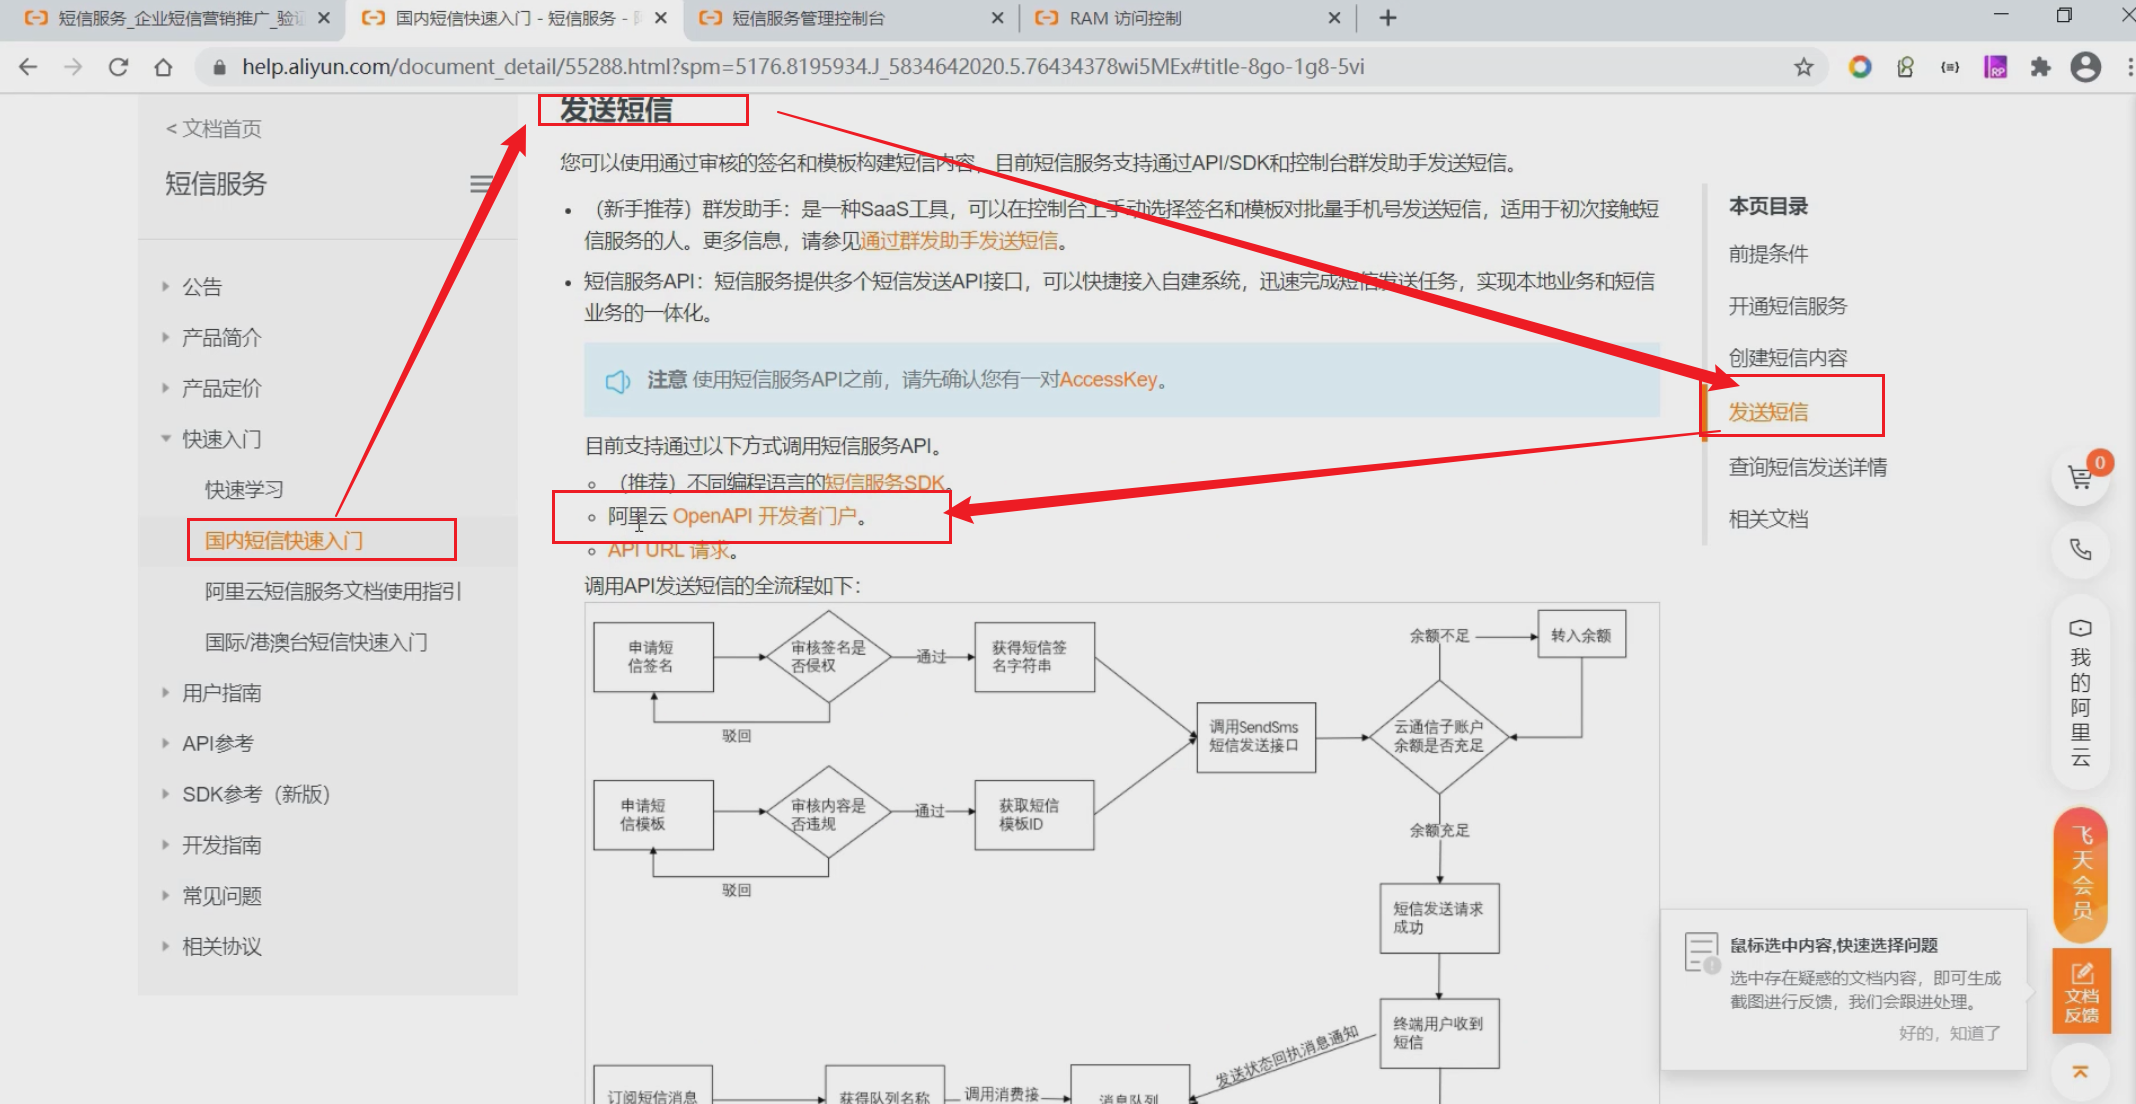
# 02)申请签名
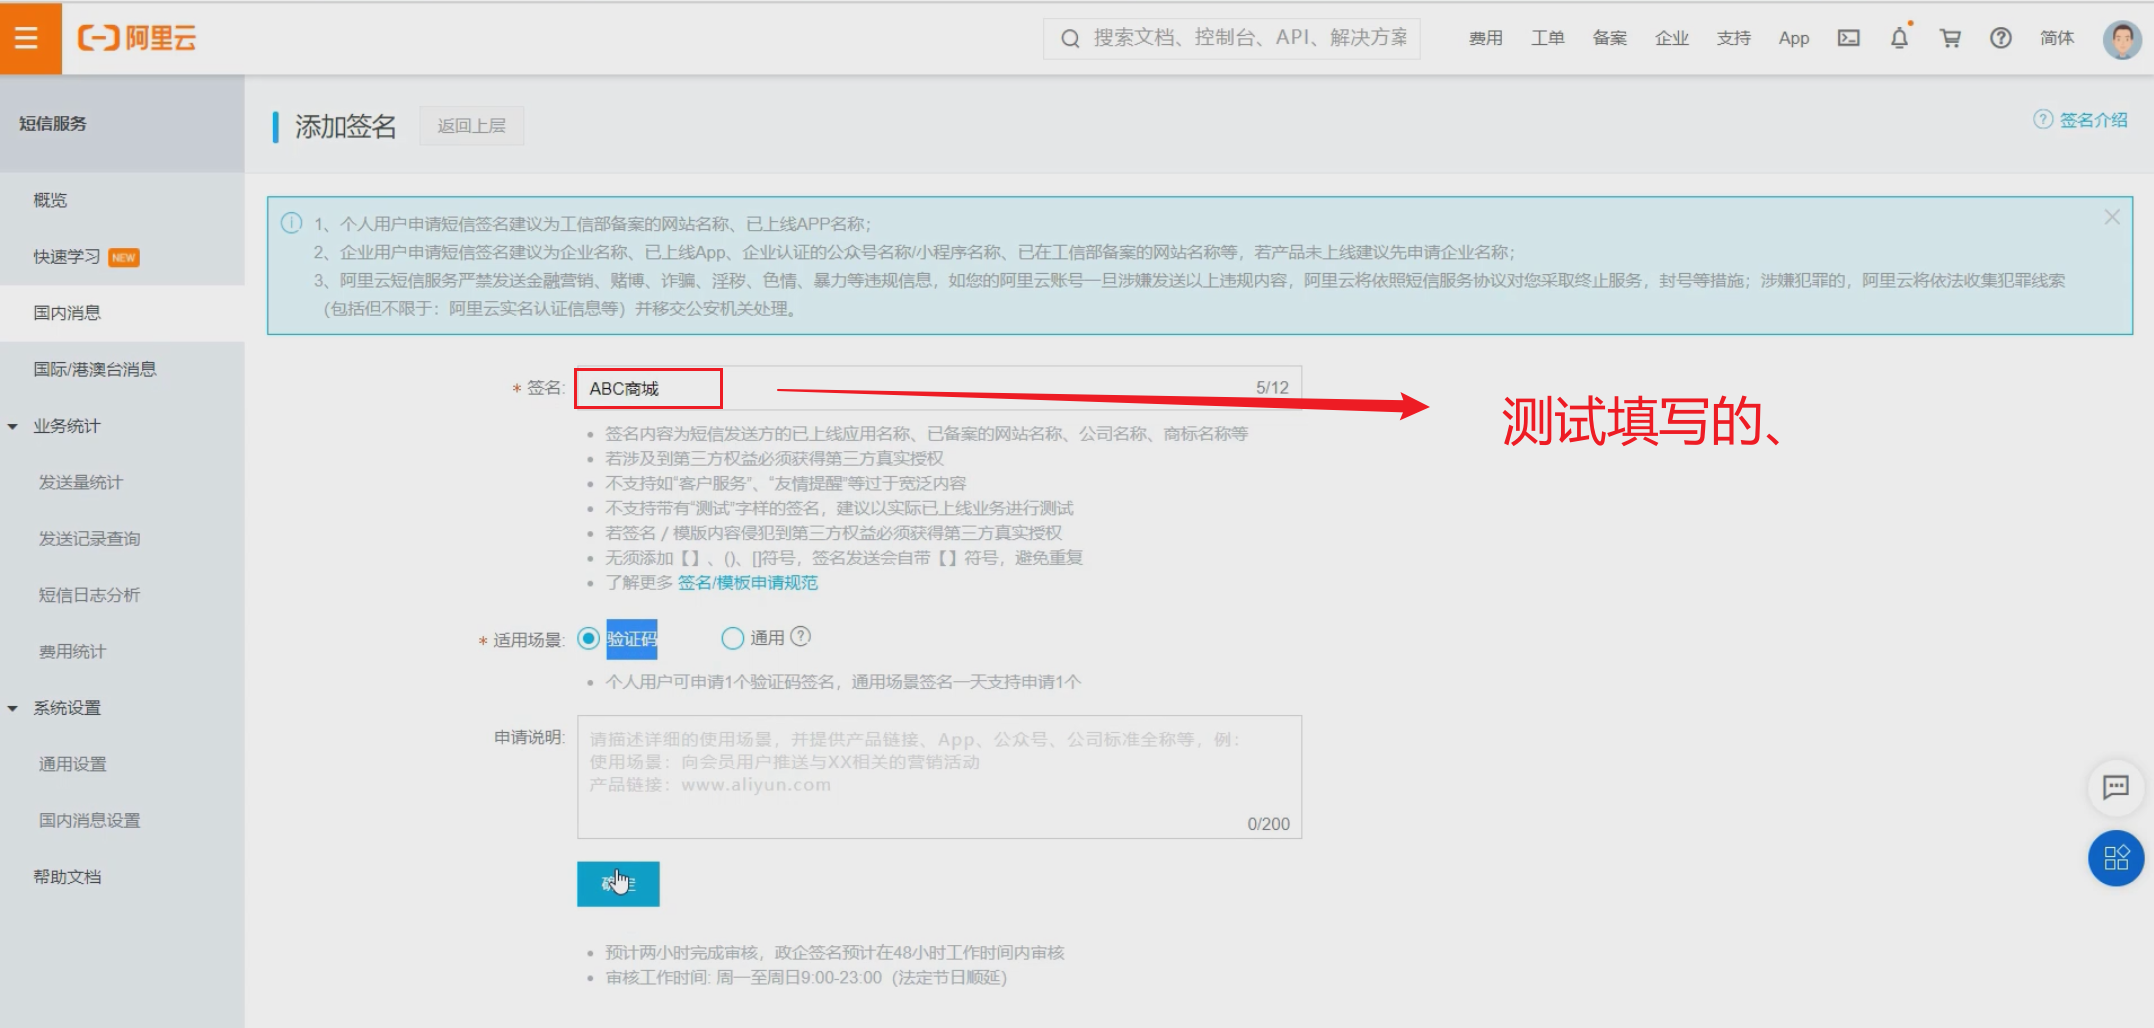
注意
说明:申请签名时,个人用户只能申请一个并且签名的名称必须为“ABC商城”,否则审核不通过。
# 03)配置模板
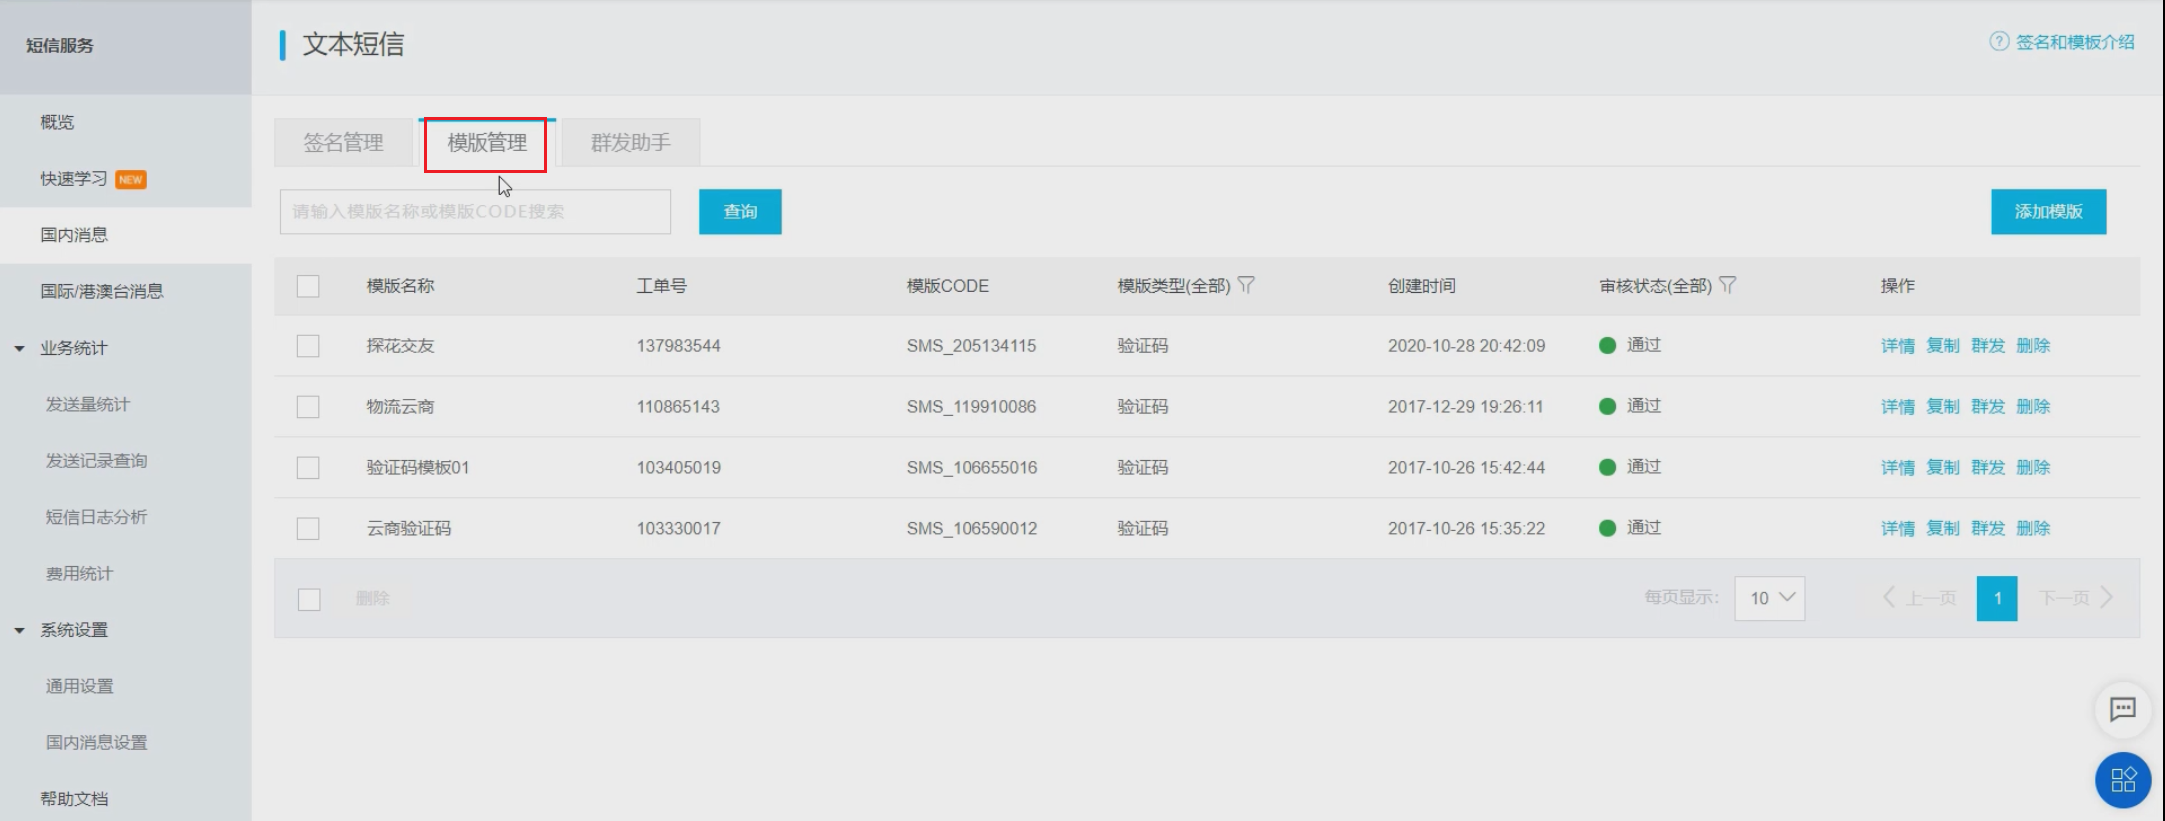
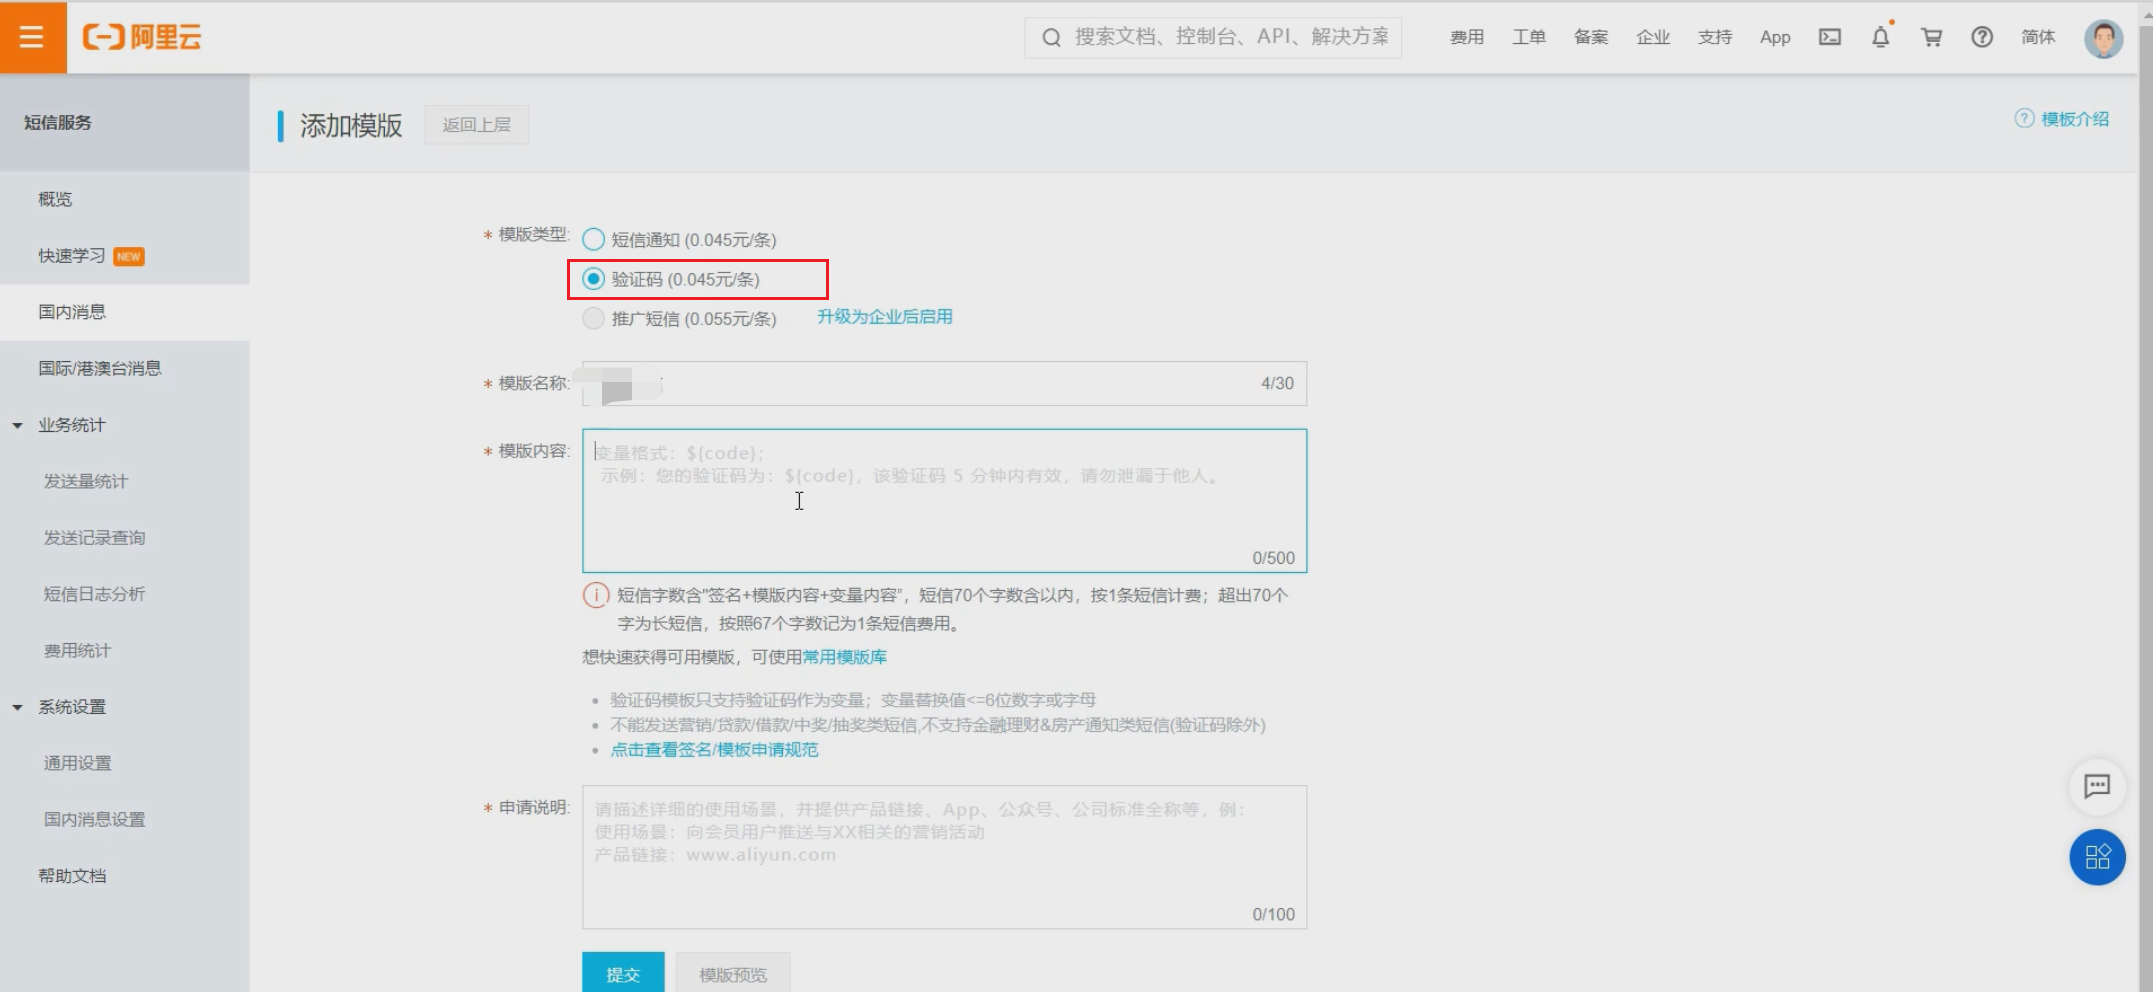
查看模板详情。

注意
审核时间需要1~2小时,请耐心等待~
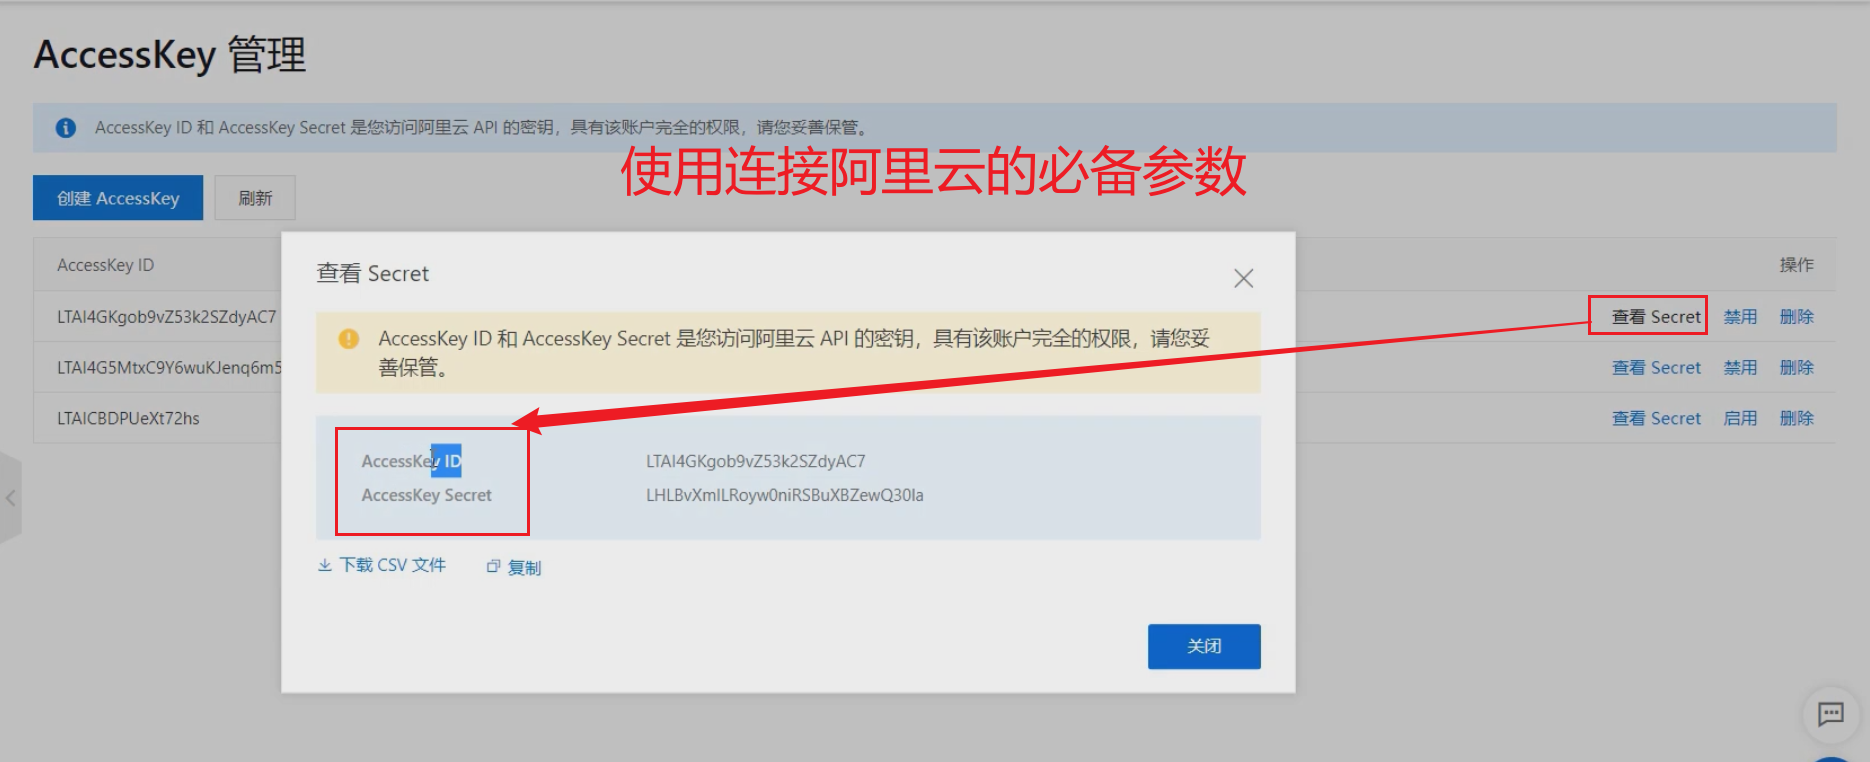
# AccessKey管理
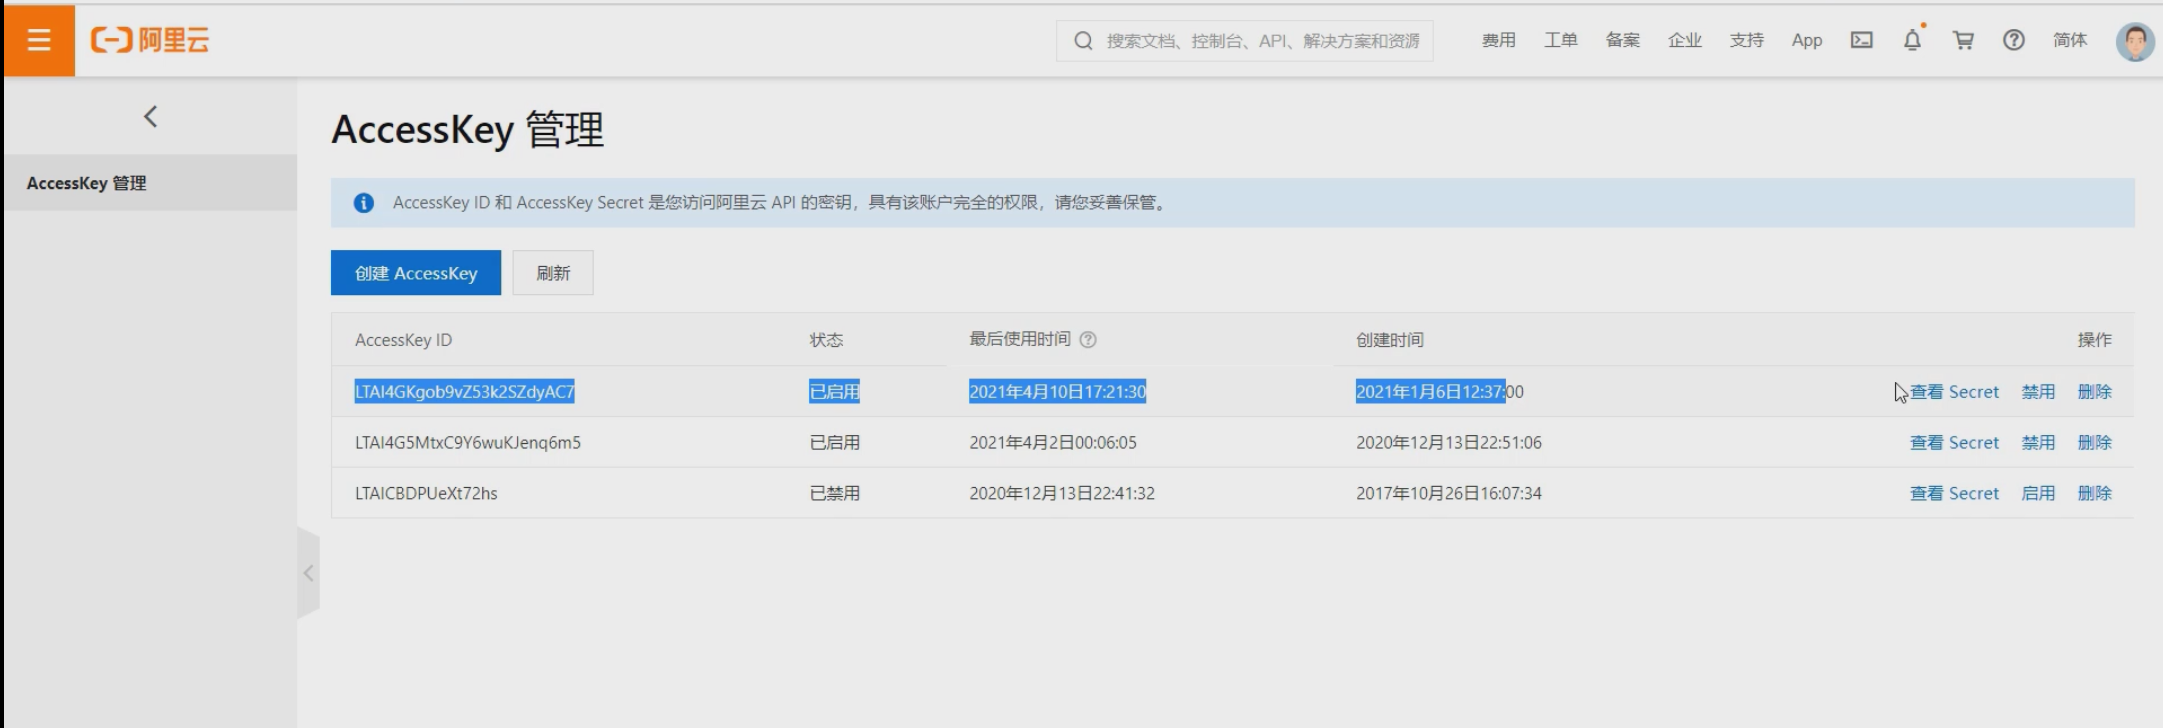
AccesskeyID和AccesskeySecret是您访问阿里云API的密钥,具有该账户完全的权限,请您妥善保管。
# java发送验证码短信
在线调试发送短信的模板1
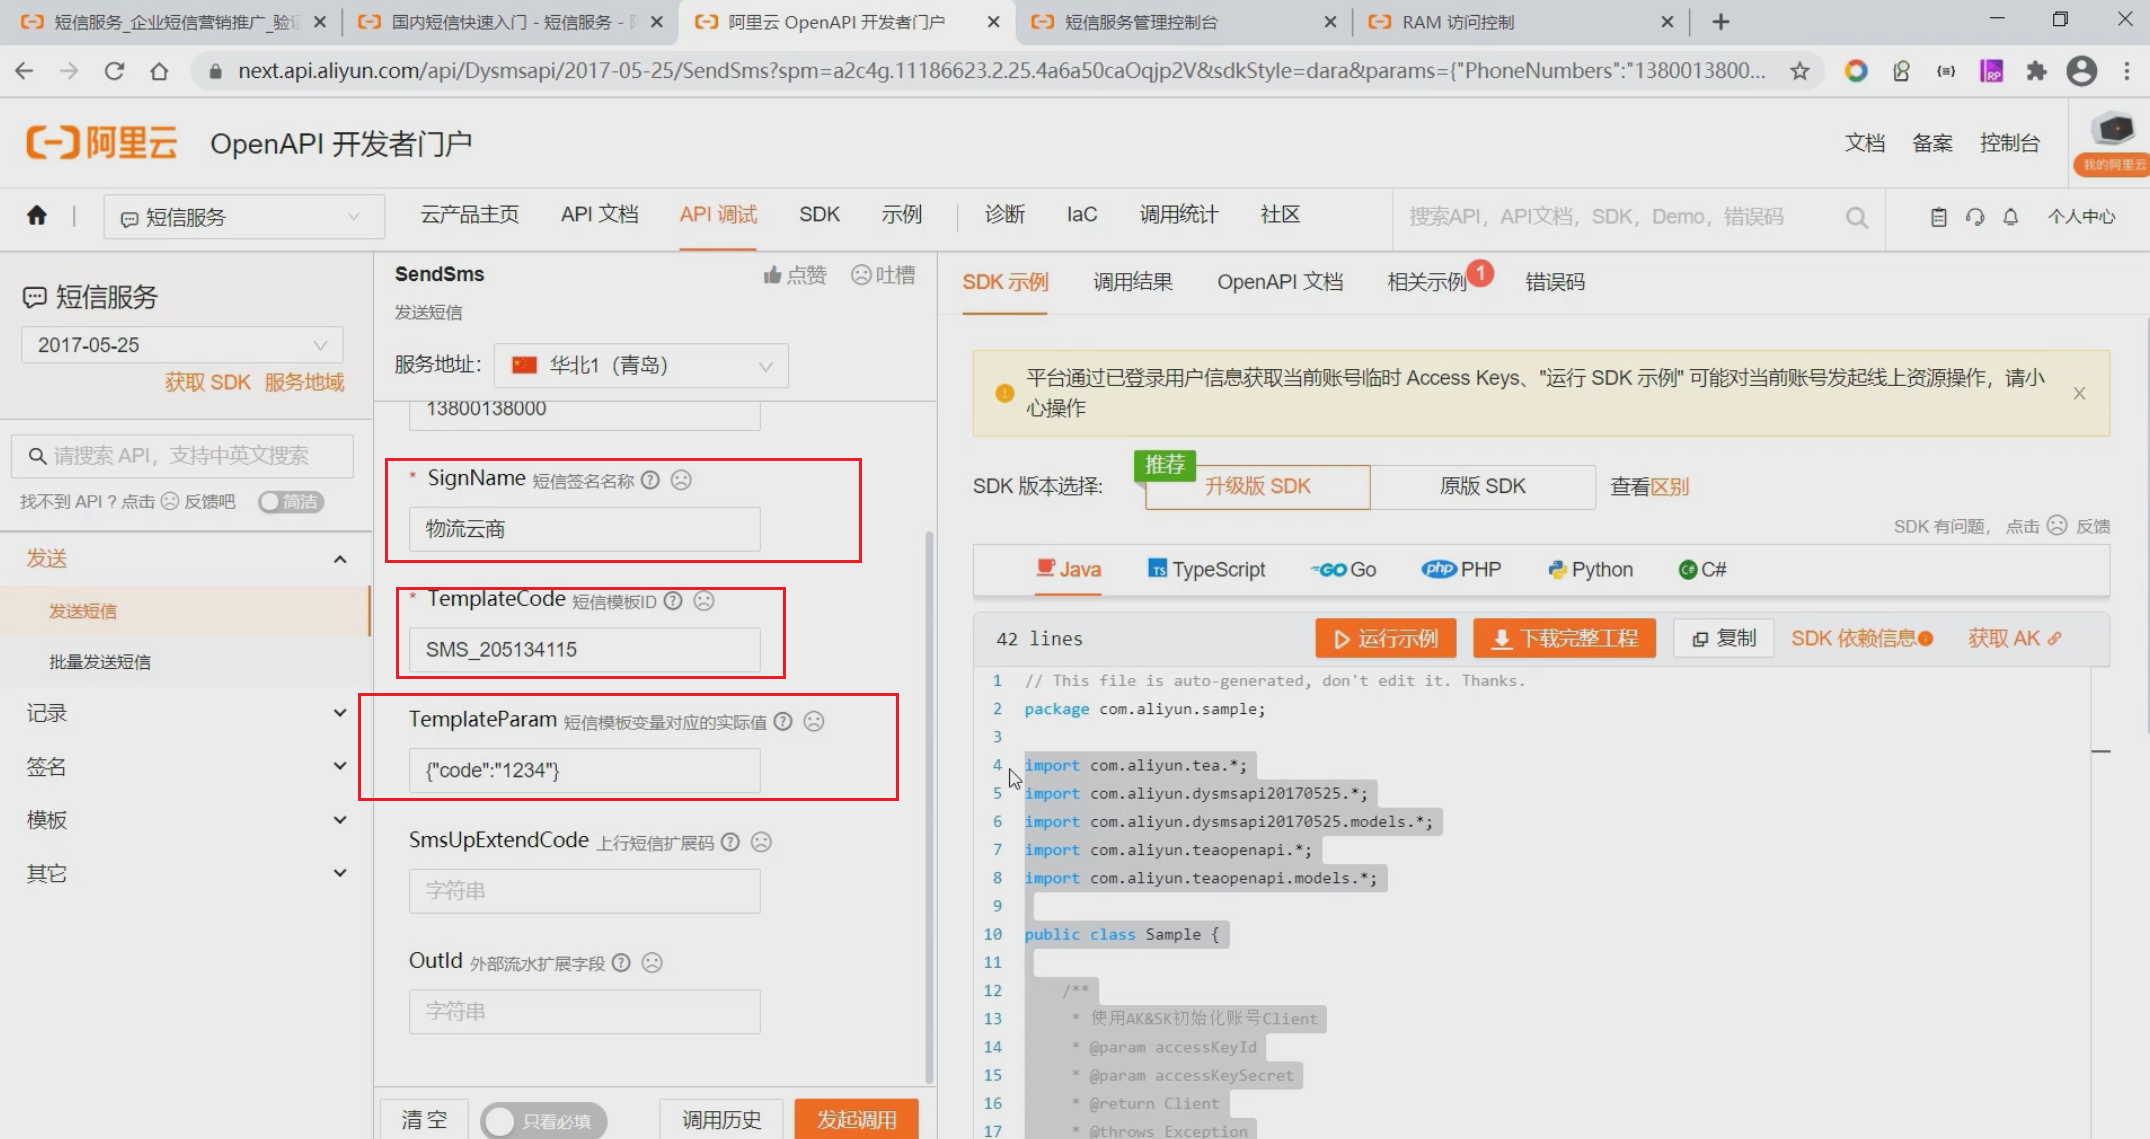
自动帮我们生产用例代码。
# java发送短信的测试用例
package com.gun.sso.service;
import com.aliyun.dysmsapi20170525.models.SendSmsRequest;
import com.aliyun.dysmsapi20170525.models.SendSmsResponse;
import com.aliyun.dysmsapi20170525.models.SendSmsResponseBody;
import com.aliyun.teaopenapi.models.Config;
public class SendSms {
/**
* 使用AK&SK初始化账号Client
* @param accessKeyId
* @param accessKeySecret
* @return Client 发送短信的 客户端对象
* @throws Exception
*/
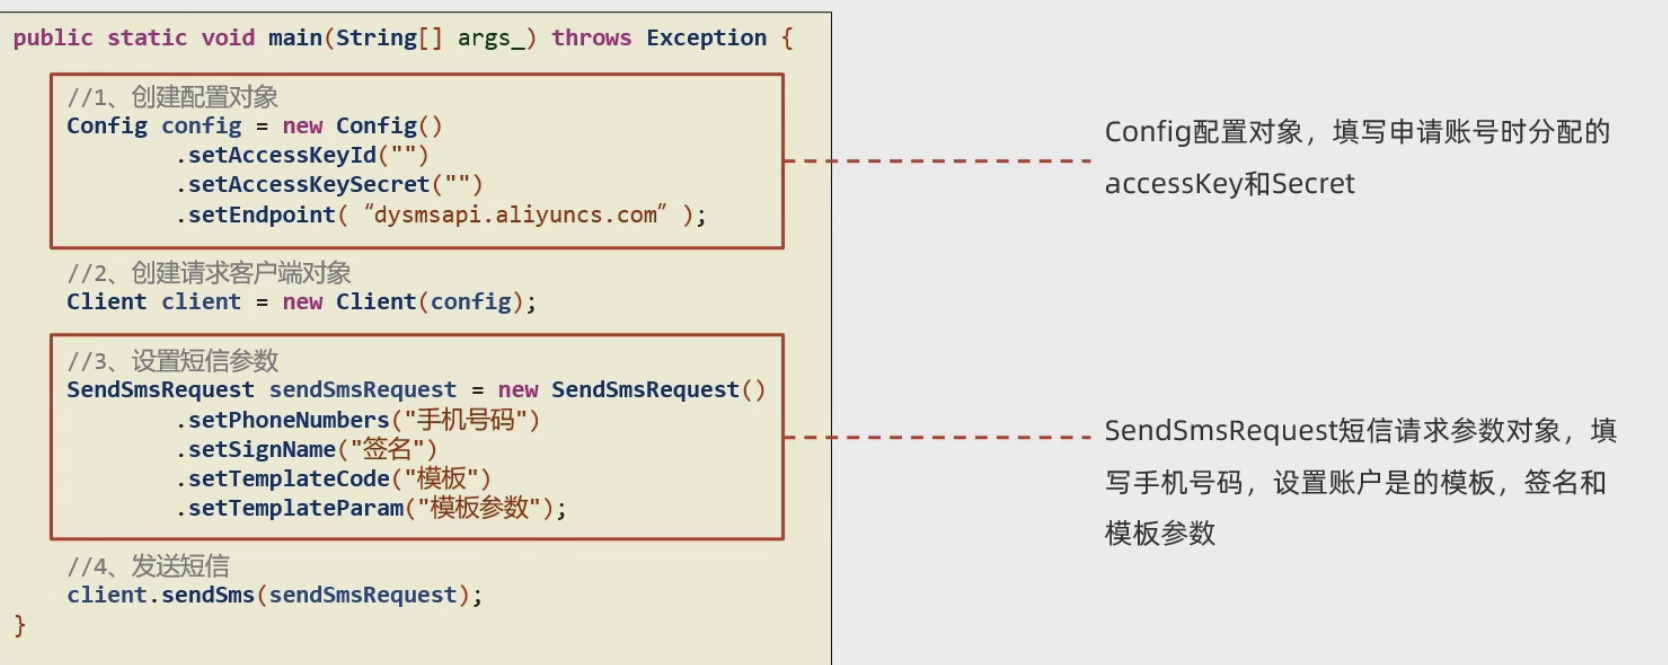
public static com.aliyun.dysmsapi20170525.Client createClient(String accessKeyId, String accessKeySecret) throws Exception {
//1. 创建配置对象
Config config = new Config()
// 您的AccessKey ID
.setAccessKeyId(accessKeyId)
// 您的AccessKey Secret
.setAccessKeySecret(accessKeySecret)
.setEndpoint("dysmsapi.aliyuncs.com"); // 访问的域名、连接地址
//2. 返回客户端对象
return new com.aliyun.dysmsapi20170525.Client(config);
}
public static void main(String[] args_) throws Exception {
java.util.List<String> args = java.util.Arrays.asList(args_);
com.aliyun.dysmsapi20170525.Client client = SendSms
.createClient("**********", "**********");
// 3、 创建 请求对象
SendSmsRequest sendSmsRequest = new SendSmsRequest()
.setPhoneNumbers( "158****7944") //目标手机号
.setSignName("ABC商城") //签名名称
.setTemplateCode("SMS_204756062") //短信模板code
.setTemplateParam("{\"code\":\"1111\"}"); //模板中变量替换
// 4、 客户端发送请求。 获取响应。
SendSmsResponse sendSmsResponse = client.sendSms(sendSmsRequest);
// 获取响应体。
SendSmsResponseBody body = sendSmsResponse.getBody();
// code = OK 代表成功
System.out.println(body.getCode() + " " + body.getMessage());
}
}
1
2
3
4
5
6
7
8
9
10
11
12
13
14
15
16
17
18
19
20
21
22
23
24
25
26
27
28
29
30
31
32
33
34
35
36
37
38
39
40
41
42
43
44
45
46
47
48
49
50
51
52
53
2
3
4
5
6
7
8
9
10
11
12
13
14
15
16
17
18
19
20
21
22
23
24
25
26
27
28
29
30
31
32
33
34
35
36
37
38
39
40
41
42
43
44
45
46
47
48
49
50
51
52
53
第三方服务直接从官网下载示例代码进行调试配置即可使用
# 阿里云短信-组件抽取
- 企业开发中,往往将常见的工具类封装抽取,以简洁便利的方式供其他工程模块使用,而SpringBoot的自动装配 机制可以方便的实现组件抽取。
springboot的自动装配的步骤:
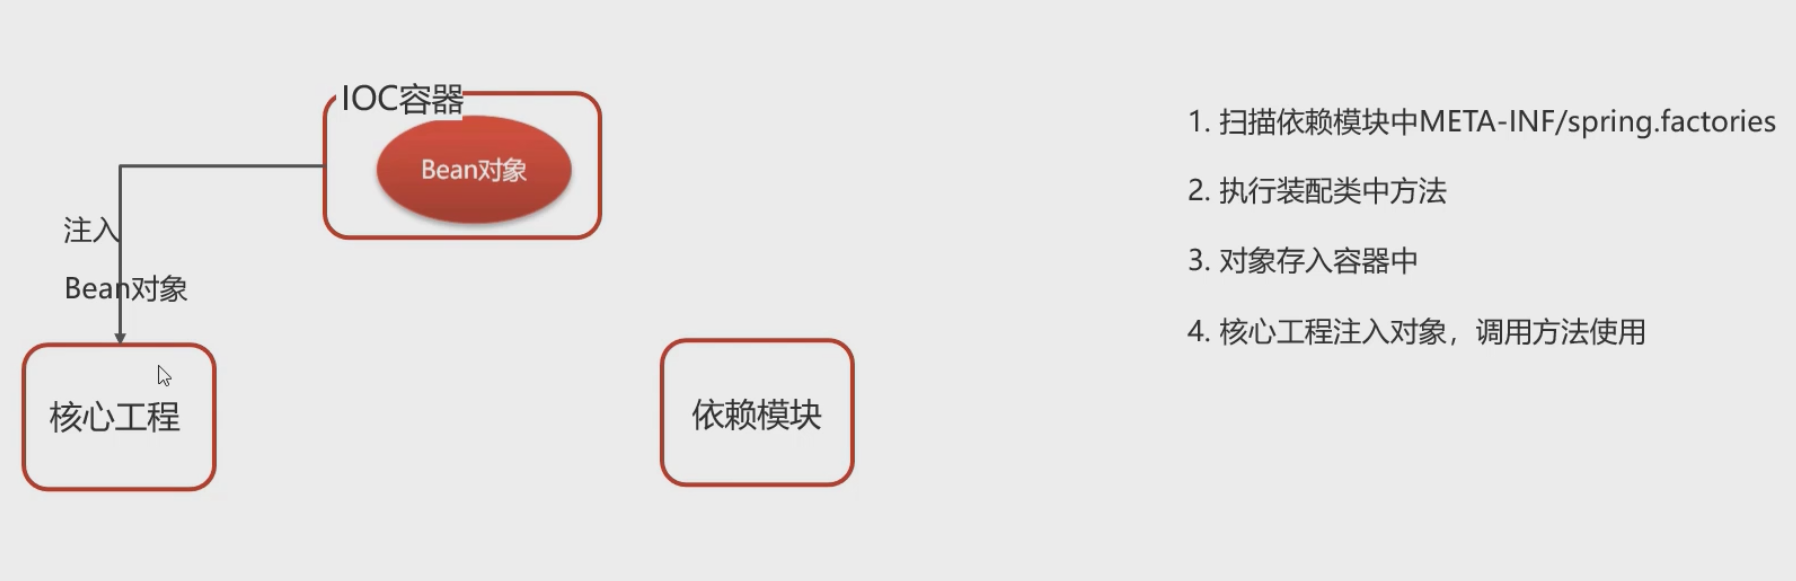
- 在gun模块定义模板对象SmsTemplate。
- 在gun模块定义自动装配类TanhuaAutoConfiguration。
- 在gun模块中添加装配文件META-INF/spring.factories。
- gun-app模块引入装配依赖。
- 注入SmsTemplate发送短信。
# 01)自动装配配置
根据自动装配原则,在gun工程创建 /META-INF/spring.factories文件
org.springframework.boot.autoconfigure.EnableAutoConfiguration=\
com.tanhua.autoconfig.TanhuaAutoConfiguration
1
2
2
# 02)抽取公共配置
案例:自动读取Yml中配置
实现:创建配置类
gun:
  sms:
    signName: 物流云商
    templateCode: SMS_106590012
    accessKey: LTAI4GKgob9vZ53k2SZdyAC7
    secret: LHLBvXmILRoyw0niRSBuXBZewQ30la
1
2
3
4
5
6
2
3
4
5
6
# 03)创建配置类
实现:
- 定义SmspProperties类,通过@ConfigurationProperties指定配置文件前缀
@Data
@ConfigurationProperties(prefix = "tanhua.sms")
public class SmsProperties {
    private String signName;
    private String templateCode;
    private String accessKey;
    private String secret;
}
1
2
3
4
5
6
7
8
2
3
4
5
6
7
8
# 04)发送短信模板对象
package com.gun.autoconfig.template;

import com.aliyun.dysmsapi20170525.models.SendSmsRequest;
import com.aliyun.dysmsapi20170525.models.SendSmsResponse;
import com.aliyun.dysmsapi20170525.models.SendSmsResponseBody;
import com.aliyun.teaopenapi.models.Config;
import com.tanhua.autoconfig.properties.SmsProperties;

public class SmsTemplate {

    private SmsProperties properties;

    // 构造方法注入
    public SmsTemplate(SmsProperties properties) {
        this.properties = properties;
    }

    // 省略代码
    public void sendSms(String mobile,String code);

}
1
2
3
4
5
6
7
8
9
10
11
12
13
14
15
16
17
18
19
20
21
2
3
4
5
6
7
8
9
10
11
12
13
14
15
16
17
18
19
20
21
SmsProperties实例对象谁创建呢?
答:自动装配类帮我们创建。
# 05)写自动装配类
package com.gun.autoconfig;


import com.tanhua.autoconfig.properties.*;
import com.tanhua.autoconfig.template.*;
import org.springframework.boot.autoconfigure.condition.ConditionalOnProperty;
import org.springframework.boot.context.properties.EnableConfigurationProperties;
import org.springframework.context.annotation.Bean;

@EnableConfigurationProperties({
        SmsProperties.class
})
public class TanhuaAutoConfiguration {

    @Bean
    public SmsTemplate smsTemplate(SmsProperties properties) {
        return new SmsTemplate(properties);
    }
}
1
2
3
4
5
6
7
8
9
10
11
12
13
14
15
16
17
18
19
2
3
4
5
6
7
8
9
10
11
12
13
14
15
16
17
18
19
# 06)编写单元测试类
@RunWith(SpringRunner.class)
@SpringBootTest(classes = AppServerApplication.class)
public class SmsTemplateTest {

    //注入
    @Autowired
    private SmsTemplate smsTemplate;

    //测试
    @Test
    public void testSendSms() {
        smsTemplate.sendSms("18618412321","4567");
    }
}
1
2
3
4
5
6
7
8
9
10
11
12
13
14
2
3
4
5
6
7
8
9
10
11
12
13
14